sales@dselva.co.in
 How to Create an Android App with Android Studio?
How to Create an Android App with Android Studio – Below are the steps that will teach you the basics on how to build an Android app using the Android Mobile Studio development environment? Android Studio is an easy to use (and free) development environment to learn on.
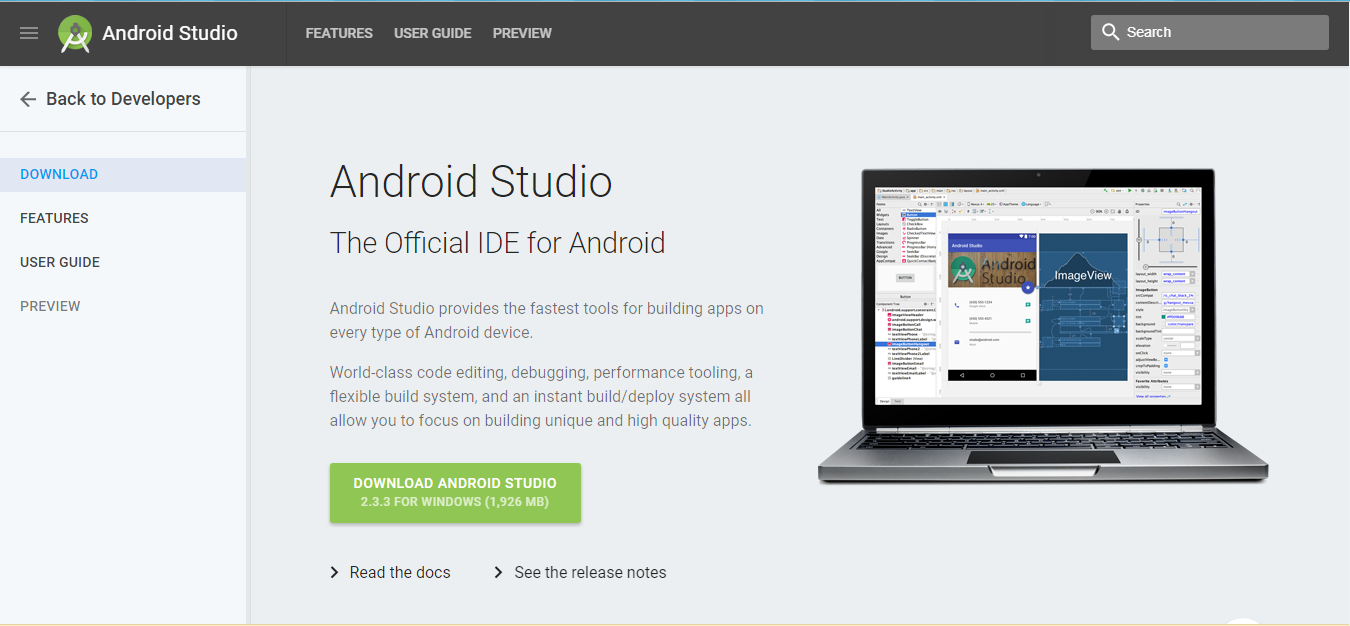
- Install Android Studio
- Go to https://developer.android.com/studio/index.html to download Android Audio
- Use the installer to install Android Studio following its instruction
- Open a New Project
- Open Android Studio
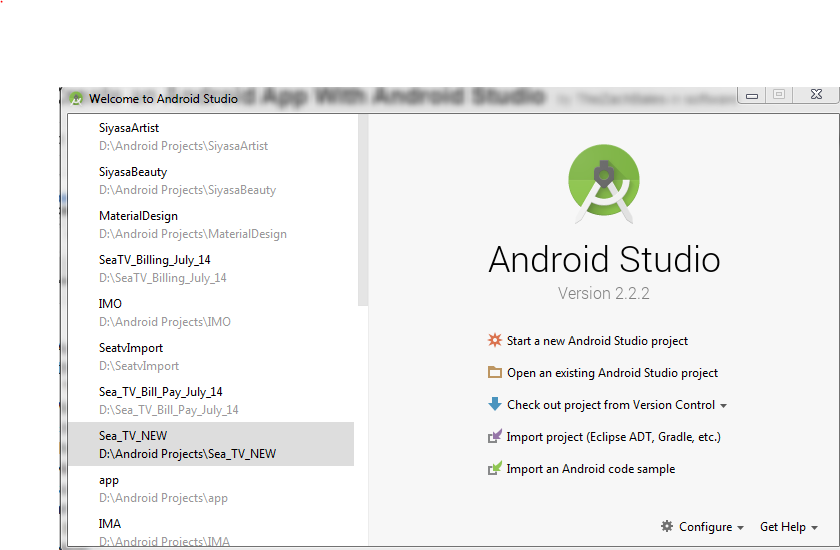
Under the “Quick Start” menu, select “Start a New Android Project”
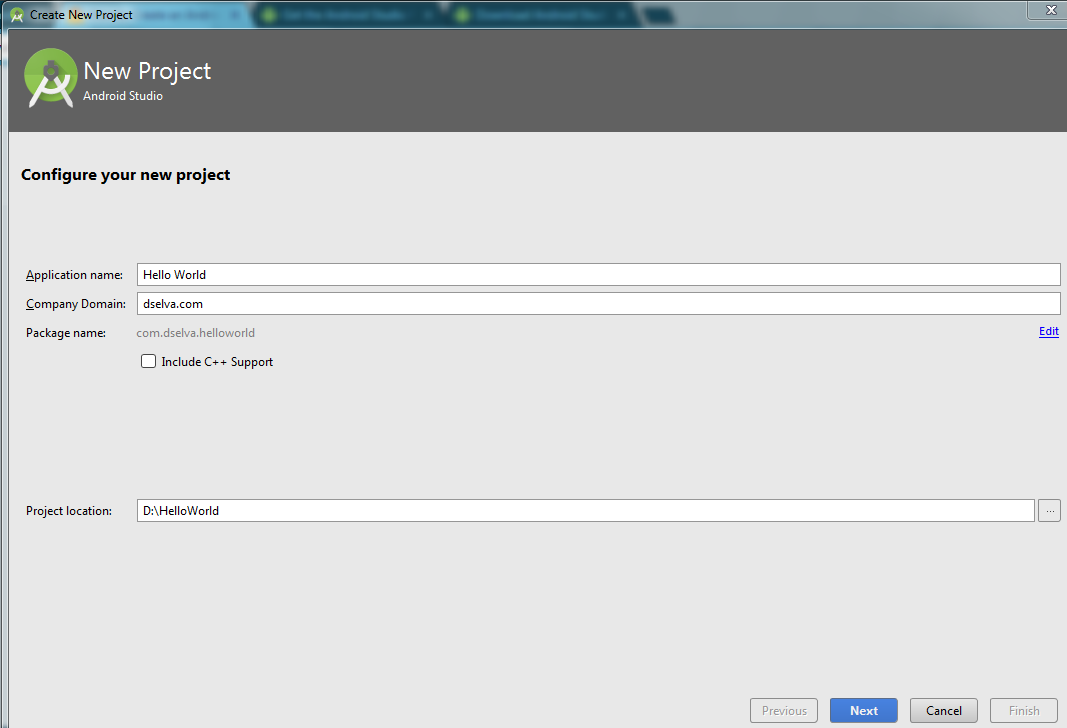
- On the “Create New Project” window that opens, name your project “Hello World”
- If you chose to, set the company name as desired (It is a typical naming convention in Android Projects to set the company name as some form of “example.namehere.com”)
- Note the project file location and change if desired
- Click “Next”
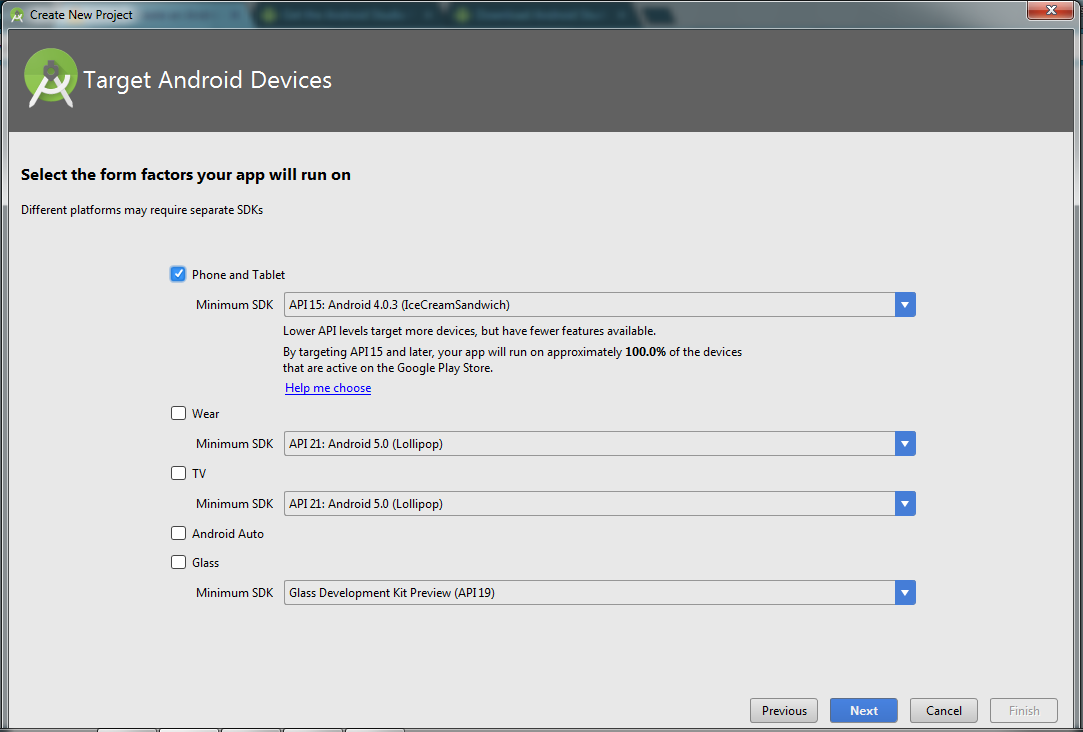
- Make sure that “Phone and Tablet” is the only box that is checked
- If you are planning to test the app on your phone, make sure the minimum SDK is below your phone’s operating system level
- Click “Next”
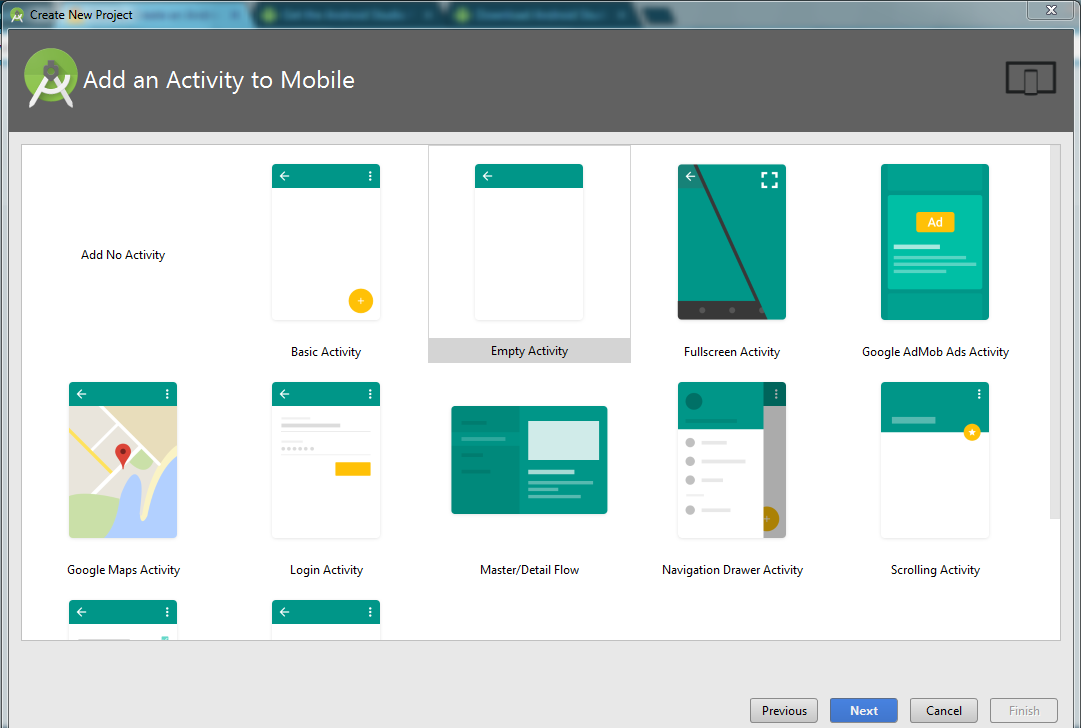
- Select “Blank Activity”
- Click “Next”
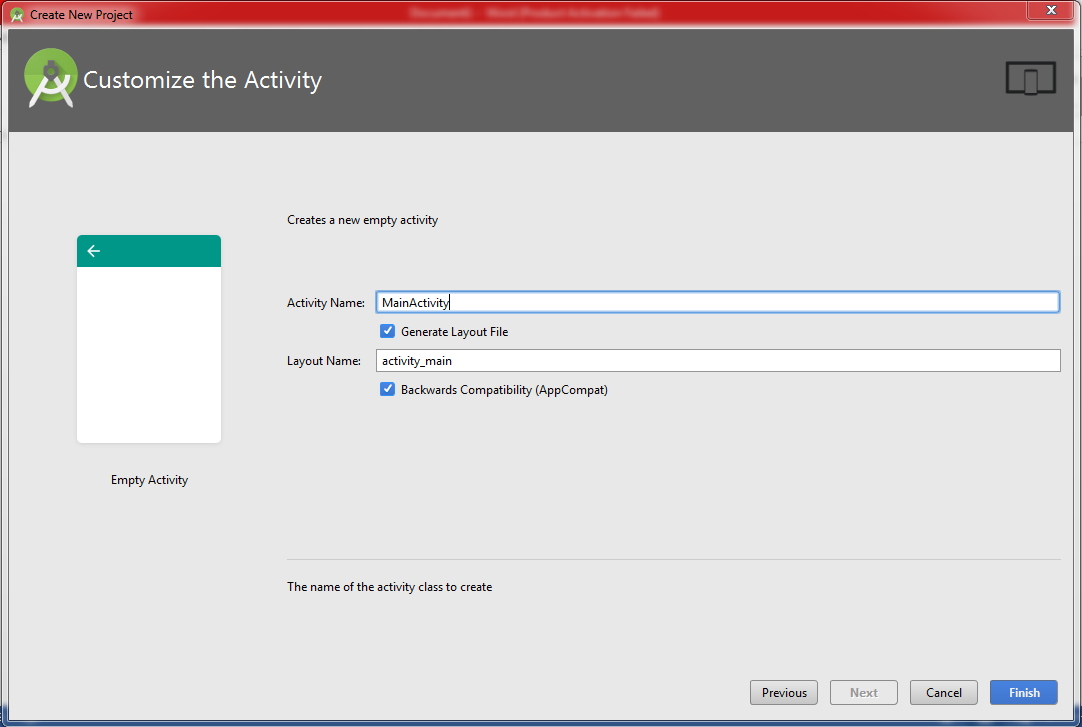
- Leave all the Activity name fields as they are
- Click “Finish”
- Change layout of activity to create a button
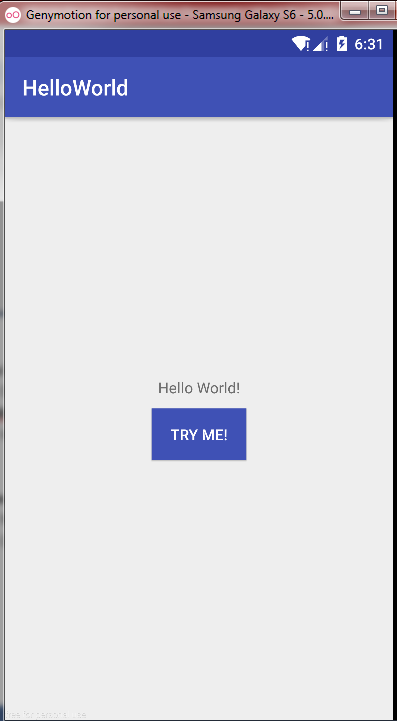
- Open main_activity.xml and include a button as follows:
<?xml version=”1.0″ encoding=”utf-8″?>
<LinearLayoutxmlns:android=”http://schemas.android.com/apk/res/android”
xmlns:tools=”http://schemas.android.com/tools”
android:id=”@+id/activity_main”
android:layout_width=”match_parent”
android:layout_height=”match_parent”
android:orientation=”vertical”
android:layout_gravity=”center”
android:gravity=”center”>
<TextView
android:layout_width=”wrap_content”
android:layout_height=”wrap_content”
android:text=”Hello World!”
android:layout_gravity=”center”
android:gravity=”center”/>
<Button
android:id=”@+id/btn_click”
android:layout_width=”wrap_content”
android:layout_height=”wrap_content”
android:text=”Try Me!”
android:background=”@color/colorPrimary”
android:textColor=”@android:color/white”
android:layout_marginTop=”10dp”
android:paddingLeft=”10dp”
android:paddingRight=”10dp”/>
</LinearLayout>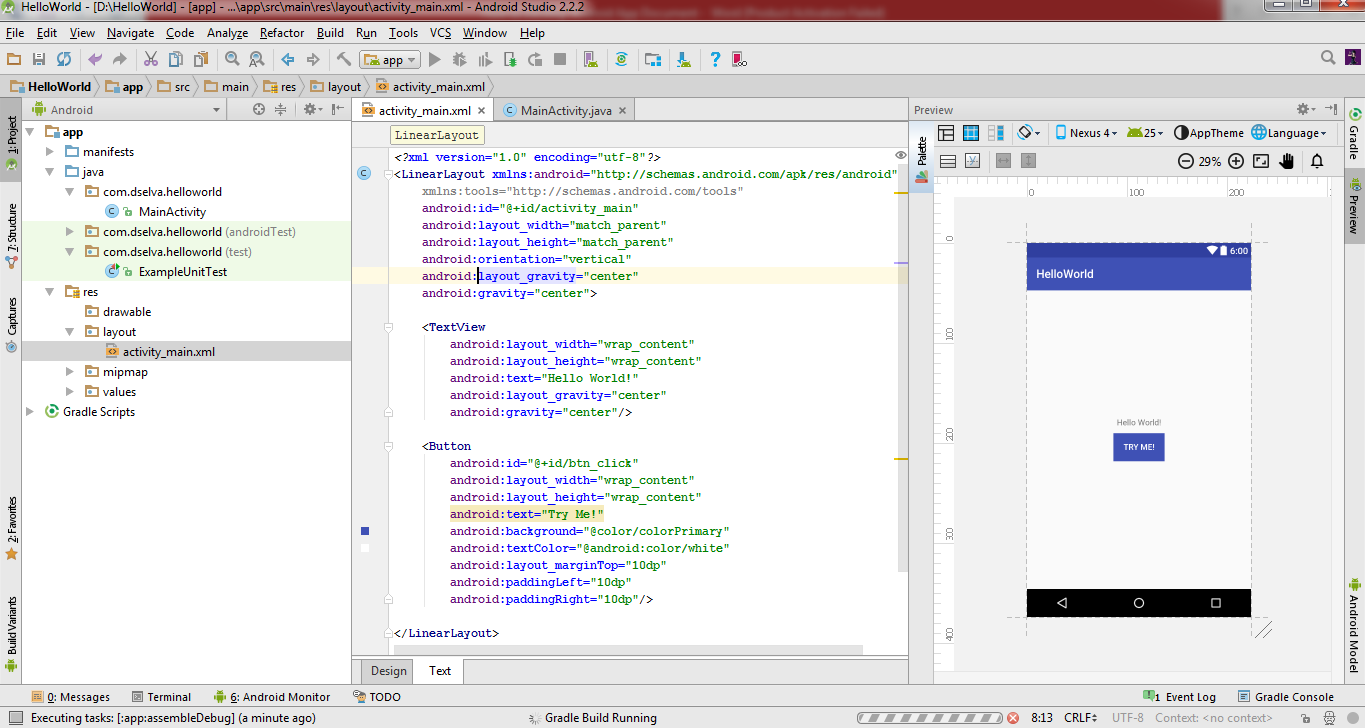
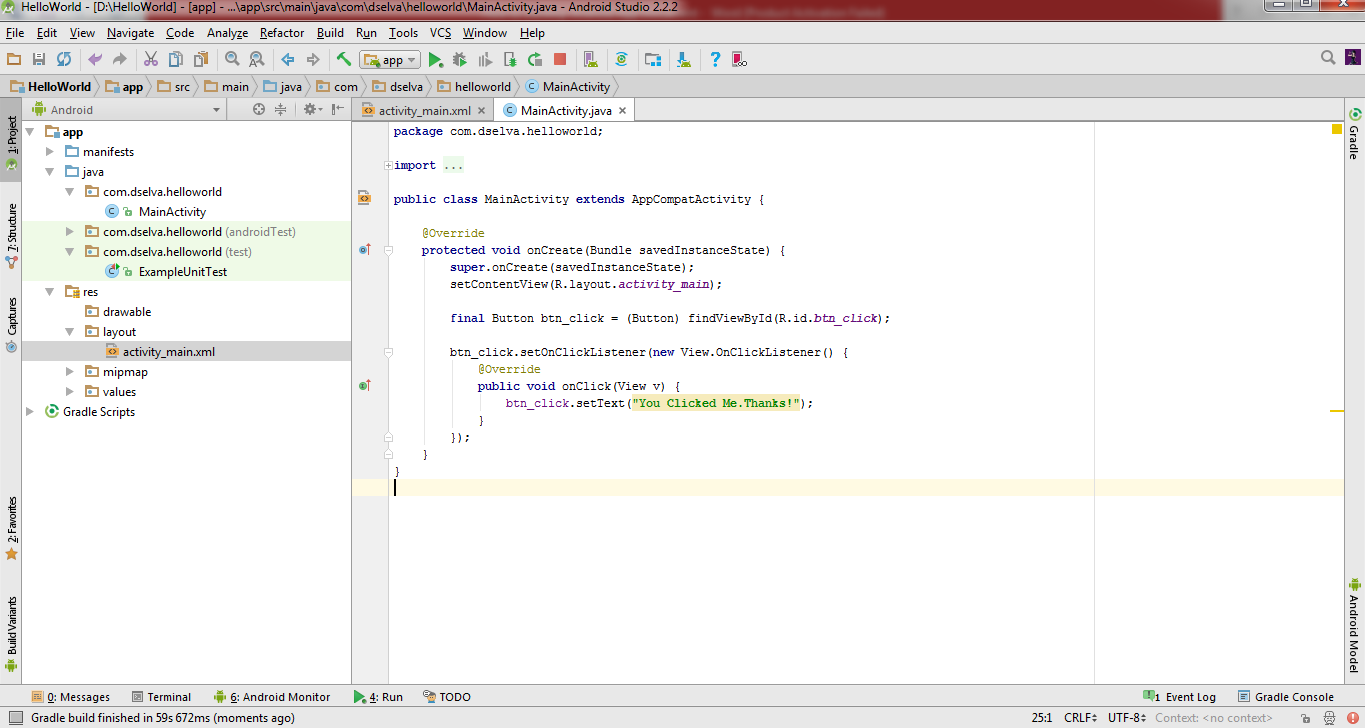
- Open MainActivity and try this following code
- In this code, when you click on the button the text of button changes
package com.dselva.helloworld;
import android.support.v7.app.AppCompatActivity;
;; android.os.Bundle;
;; android.view.View;
import android.widget.Button;
public class MainActivityextends AppCompatActivity {
@Override
protected void onCreate(Bundle savedInstanceState) {
super.onCreate(savedInstanceState);
setContentView(R.layout.activity_main);
final Button btn_click = (Button) findViewById(R.id.btn_click);
btn_click.setOnClickListener(new View.OnClickListener() {
@Override
public void onClick(View v) {
btn_click.setText(“You Clicked Me.Thanks!”);
}
});
}
}
- Test the Application
- When the “Choose Device” dialog appears, select the device connected option
- Click “OK”
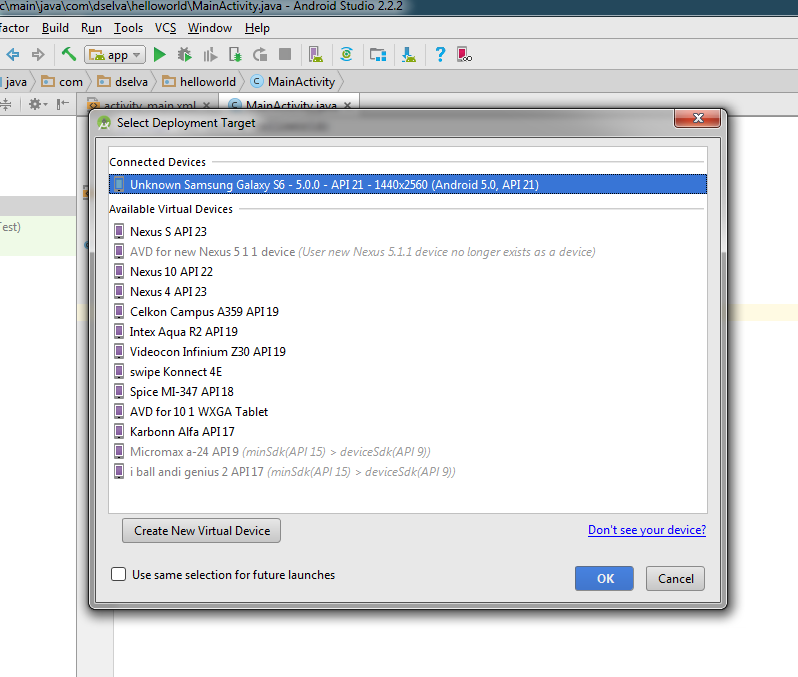
- Hurray!
Congrats! You’ve now completed your first Android application. From here you have the cursory knowledge you need to go on to learn all there is to know about Android application development.